
 English
 中文简体
中文简体
Phone:+86-13952799285
Using an oscillating rechargeable electric toothbrush correctly involves five key steps: applying a pea-sized amount of toothpaste to the round brush head, placing the bristles against your teeth before switching the motor on, guiding the brush head slowly from tooth to tooth without scrubbing, spending at least two minutes covering all four quadrants of your mouth, and finishing with gentle attention to the gumline. Unlike a manual toothbrush, an oscillating electric toothbrush does the cleaning motion for you — your only job is to guide it slowly and let the head do its work.
The oscillating action — where the round brush head rotates back and forth at high speed, typically 7,600 to 8,800 oscillations per minute — is clinically proven to remove significantly more plaque than manual brushing. However, using this technology incorrectly (pressing too hard, rushing, or missing zones) negates much of its advantage. The detailed guide below covers every aspect of correct technique, common mistakes, and how to get the most from your device.
Content
- 1 Understanding How an Oscillating Electric Toothbrush Works
- 2 Before You Start: Setup and Preparation
- 3 The Correct Brushing Technique: Step-by-Step
- 4 The Two-Minute Quadrant System: How to Cover Every Surface
- 5 Paying Special Attention to the Gumline
- 6 After Brushing: The Correct Finishing Routine
- 7 How Often and When to Brush
- 8 Special Situations: Adapting Technique for Different Dental Conditions
- 9 Common Mistakes to Avoid When Using an Oscillating Toothbrush
- 10 Transitioning From a Manual Toothbrush: What to Expect
- 11 Caring for Your Oscillating Rechargeable Toothbrush
Understanding How an Oscillating Electric Toothbrush Works
Before diving into technique, it helps to understand what makes the oscillating electric toothbrush different — and why the correct technique differs so fundamentally from what you would do with a manual brush.
The Oscillating-Rotating Mechanism
An oscillating rechargeable electric toothbrush uses a small electric motor powered by a rechargeable battery — typically lithium-ion in modern models — to drive the brush head in a rapid back-and-forth rotational motion. The round brush head alternately rotates clockwise and counter-clockwise, with each directional change reversing dozens of times per second. This motion is fundamentally different from both the linear vibration of sonic toothbrushes and the simple circular motion of older rotating brushes.
The combination of this oscillating rotation with the cup-shaped round head creates a wrapping, sweeping action around the curved surfaces of each tooth — a mechanical cleaning motion that the human wrist and arm cannot replicate manually. Research published in the Cochrane Database of Systematic Reviews found that oscillating-rotating electric toothbrushes reduced plaque by 11% more and gingivitis by 6% more than manual toothbrushes after three months of use.
Key Features That Affect Technique
- Pressure sensor: Most quality oscillating electric toothbrushes include a pressure sensor that slows the motor or triggers a warning light when brushing pressure exceeds the safe threshold (typically 150 to 250 grams). Learning to respond to this sensor is essential for protecting enamel and gums.
- Built-in timer: A standard two-minute timer — often with 30-second quadrant alerts — removes the guesswork from brushing duration. Most people who time their manual brushing are surprised to discover they were only brushing for 45 to 60 seconds.
- Brush head design: The round, cup-shaped brush head is specifically engineered to surround and clean one tooth at a time. Its size matches the natural curve of a tooth crown, which is why the technique involves moving from tooth to tooth rather than making sweeping strokes across multiple teeth simultaneously.
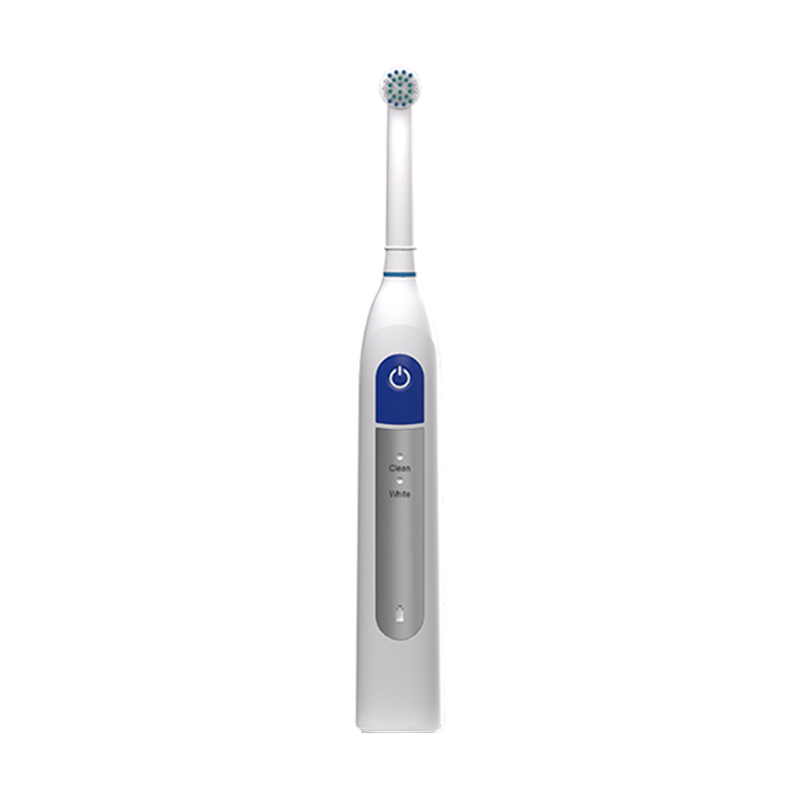
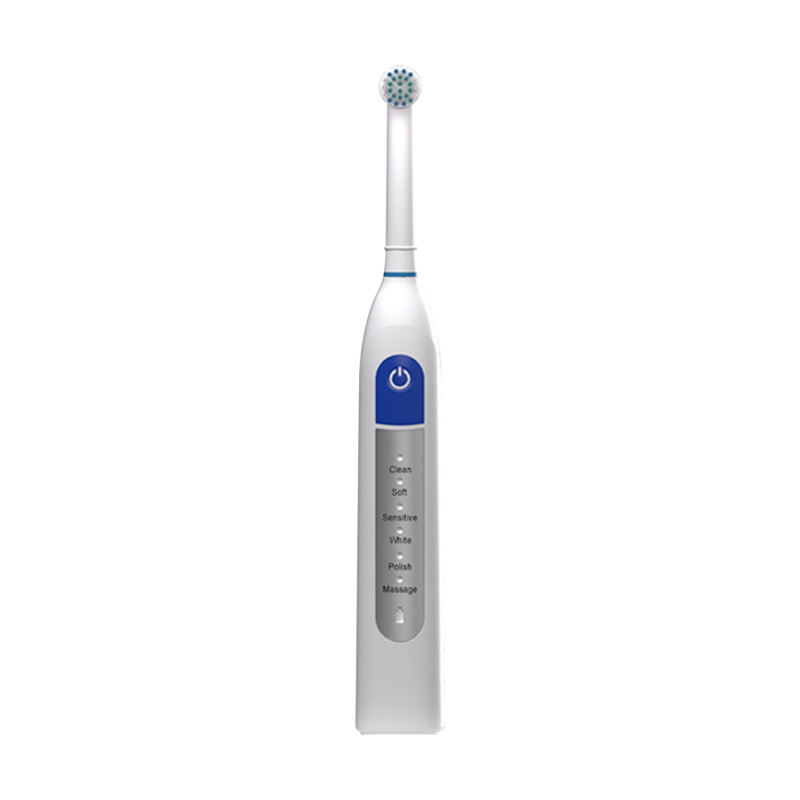
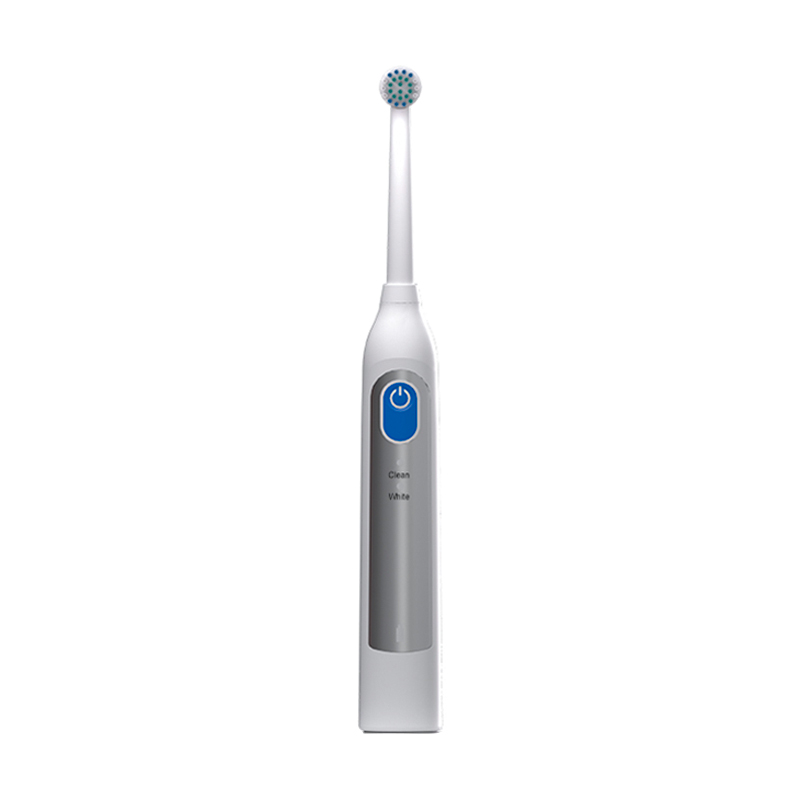
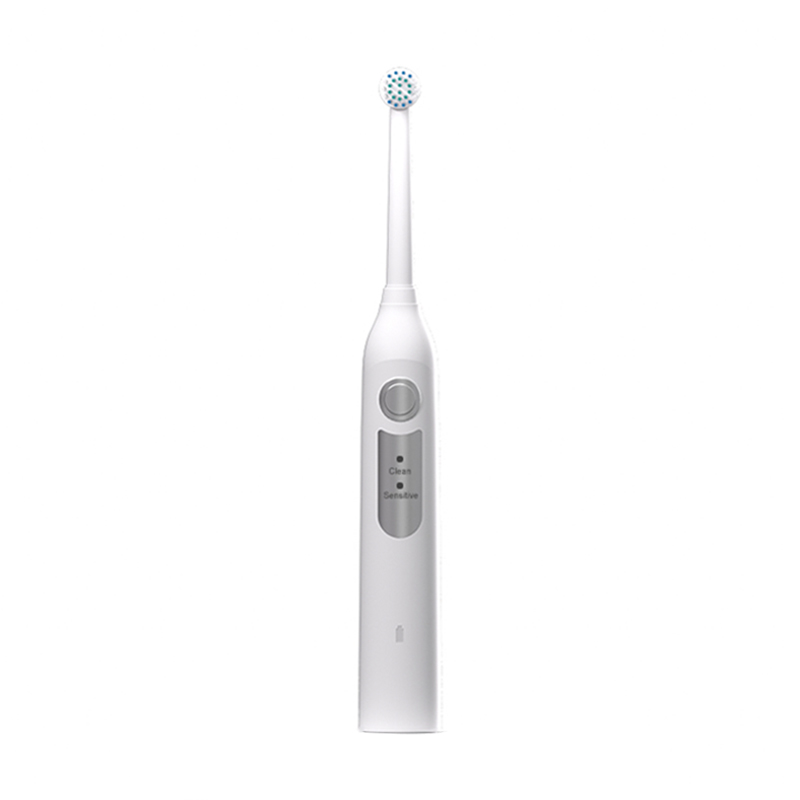
- Multiple modes: Many oscillating toothbrushes offer cleaning modes (Daily Clean, Sensitive, Gum Care, Whitening) that adjust the oscillation speed and pattern. Selecting the appropriate mode for your dental needs is an important setup step.
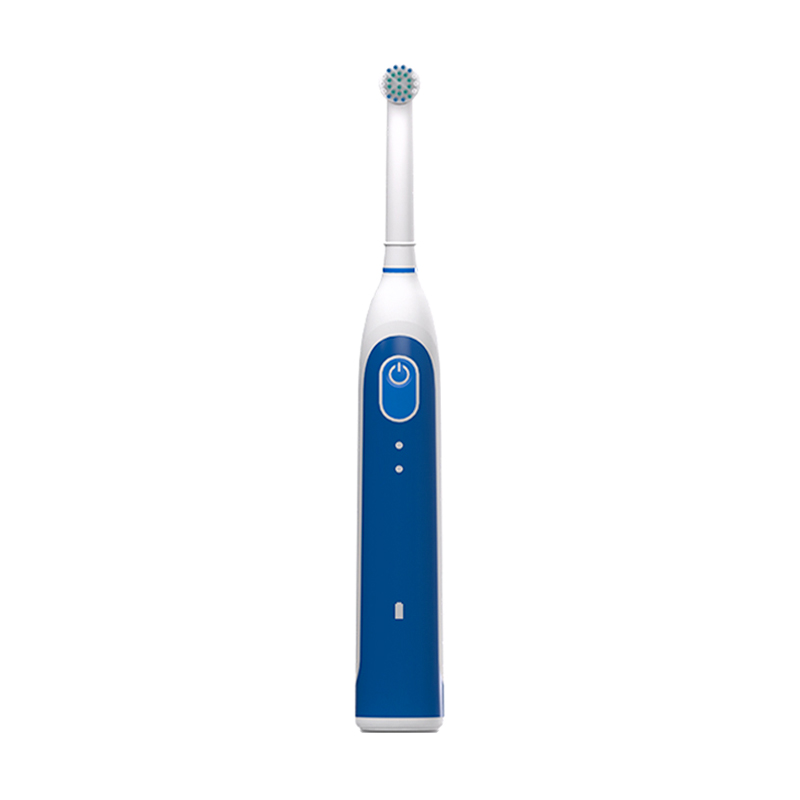
Before You Start: Setup and Preparation
Taking a moment to set up correctly before brushing ensures the session is effective and comfortable from the first stroke.
Charge the Toothbrush Properly
A fully charged oscillating electric toothbrush provides consistent motor speed throughout the entire brushing session. Many models show a low-battery indicator, but waiting until the battery is nearly depleted before charging can reduce its long-term battery capacity. For best performance and battery longevity:
- Place the toothbrush on its charging base when not in use. Modern lithium-ion models are designed for this — there is no need to fully discharge before recharging.
- A full charge typically requires 12 to 24 hours and provides 1 to 3 weeks of twice-daily brushing depending on the model.
- If the motor sounds sluggish or slower than normal, the battery is likely low and should be recharged before your next brushing session.
Attach the Correct Brush Head
Oscillating toothbrushes accept interchangeable brush heads that click or press onto the drive shaft. Verify the head is fully seated before use — a partially attached head can detach during brushing. Replace brush heads every three months, or sooner if the bristles show visible fraying or color indicator fade. Worn bristles are significantly less effective at plaque removal regardless of the motor's performance.
Apply Toothpaste Correctly
The amount and placement of toothpaste on an oscillating brush head differs from a manual brush:
- Amount: Use a pea-sized amount — approximately 1 to 1.5 cm — regardless of what toothpaste advertisements show. Excessive toothpaste produces excessive foam that makes it harder to see what you are doing and encourages rinsing before the fluoride has had adequate contact time.
- Placement: Place the toothpaste in the center of the brush head. Do not smear it along the bristles as you might with a flat manual brush — the round head's oscillation will distribute it naturally as you brush.
- Position brush before turning on: Place the toothbrush head against your teeth in the starting position before pressing the power button. This prevents toothpaste from splattering across the mirror when the oscillation begins.
Choose the Right Mode
If your toothbrush offers multiple cleaning modes, select the appropriate one based on your current dental condition:
- Daily Clean: The standard full-power mode for regular plaque removal. Use for most brushing sessions.
- Sensitive: Reduced oscillation speed for people with sensitive teeth, gum soreness, or those new to electric toothbrushing. Start with this mode if you are transitioning from a manual brush.
- Gum Care: A pulsating action specifically designed to massage and stimulate gum tissue. Recommended if your dentist has noted signs of gum inflammation or early gum disease.
- Whitening: Higher-speed mode for additional surface stain removal. Not recommended for daily use — use a maximum of every other day to avoid over-polishing enamel.
The Correct Brushing Technique: Step-by-Step
The technique for an oscillating electric toothbrush is fundamentally different from manual brushing. The key difference is that you do not scrub — you simply guide the brush slowly while the oscillating head does the cleaning work.
How to Hold the Toothbrush
Hold the toothbrush handle with a light, relaxed grip — similar to how you would hold a pen, not how you would grip a hammer. Your thumb and two or three fingers should be in contact with the handle; your palm does not need to wrap around it. This light grip naturally limits the pressure you apply to the teeth and gums.
Position your elbow comfortably at your side, not raised. A raised elbow tends to increase brushing pressure. Your wrist guides the brush head direction; your arm simply supports the weight of the handle.
Brush Head Angle
Position the brush head at a 45-degree angle to the tooth surface, pointing toward the gumline. This angle places half of the round head on the tooth surface and the other half on the gum margin — exactly the area where plaque accumulates most heavily. The gumline is where the vast majority of gum disease and early cavities originate, making this angle the most important technical element of effective brushing.
On the back surfaces of the front teeth (the lingual surfaces), position the handle more vertically — almost perpendicular to the floor — to reach the curved inner surfaces effectively.
The Tooth-by-Tooth Guiding Motion
This is the technique element that most distinguishes oscillating electric brushing from manual brushing:
- Place the brush head on the first tooth of your starting quadrant. Cup the round head around that single tooth's outer surface, with bristles at the gumline angle.
- Hold the brush on that tooth for approximately 3 seconds. The oscillating head is cleaning during this pause — do not rush. This "dwell time" on each tooth allows the rotating head to work through the plaque biofilm.
- Slide the brush head slowly to the next tooth. The movement should be a slow glide, covering roughly one tooth per 3 seconds — slower than most people expect. At this pace, each quadrant takes about 30 seconds.
- Work systematically through each tooth in the quadrant: outer surfaces, then inner surfaces, then chewing surfaces.
- When you reach the end of a quadrant, move to the next quadrant at the timer's 30-second signal.
Do not make scrubbing strokes. The instinct to scrub back and forth — carried over from manual brushing habits — is the most common technique error with oscillating toothbrushes. Scrubbing does not improve cleaning and can cause enamel abrasion and gum recession over time.
Brushing Pressure: The Critical Variable
The correct brushing pressure for an oscillating electric toothbrush is approximately 150 grams — roughly the weight of a small apple resting on the brush head. You can calibrate this by pressing a brush head against a kitchen scale until the reading reaches 150 g, then remembering that sensation.
Excessive pressure is the leading cause of toothbrush abrasion and gum recession. If your brush has a pressure sensor, treat its activation as an immediate signal to lighten your touch — not just a suggestion. Chronic over-pressure from electric brushing can erode enamel at the gumline and cause permanent gum tissue recession, exposing sensitive root surfaces.
The Two-Minute Quadrant System: How to Cover Every Surface
Two minutes is the minimum recommended brushing time established by dental organizations worldwide, but two minutes only achieves comprehensive cleaning if that time is distributed correctly across all areas of the mouth. The quadrant system — dividing the mouth into four zones of 30 seconds each — ensures no area is overlooked.
The Four Quadrants and Recommended Starting Sequence
| Quadrant | Time Allocation | Surfaces to Cover | Common Miss Zone |
|---|---|---|---|
| Upper right (outer + inner + chewing) | 30 seconds | Cheek side, tongue side, tops of molars | Back of last upper molar |
| Upper left (outer + inner + chewing) | 30 seconds | Cheek side, tongue side, tops of molars | Inner surfaces of upper front teeth |
| Lower left (outer + inner + chewing) | 30 seconds | Cheek side, tongue side, tops of molars | Back of last lower molar |
| Lower right (outer + inner + chewing) | 30 seconds | Cheek side, tongue side, tops of molars | Inner surface of lower front teeth |
Why to Start on the Inside (Lingual Surface) First
Research on brushing habits consistently shows that people spend more time on the surfaces they start with and rush or skip the areas they reach last. Since the inner (tongue-facing) surfaces of the teeth — particularly the lower front teeth — accumulate the heaviest tartar deposits and are most commonly neglected, many dental hygienists recommend beginning each quadrant on the inner surfaces first, then moving to the outer surfaces. This ensures the most neglected areas receive adequate attention before fatigue or distraction affects thoroughness.
Covering Chewing Surfaces
For the chewing (occlusal) surfaces of molars and premolars, position the brush head flat against the biting surface with the bristles pointing into the deep fissures. Make small, slow forward-and-backward movements across the chewing surface — this is the one scenario where a slight guiding motion (rather than a pure hold) helps the oscillating head access the complex grooves and pits where cavities most commonly develop.
Paying Special Attention to the Gumline
The gumline is the most critical zone for preventing gum disease, and it is the area where the oscillating toothbrush delivers its greatest advantage over manual brushing. The gingival sulcus — the shallow crevice between the tooth and the gum — is where periodontal bacteria accumulate and where gum disease originates. Cleaning this zone effectively is the primary goal of proper technique.
The Correct Gumline Technique
- Angle the brush head at 45 degrees to the tooth surface, with the edge of the round head tilted slightly toward the gum. The outer row of bristles should just contact the gum margin.
- Allow the oscillating motion to gently clean along the gumline. The brush head's circular rotation creates a sweeping motion that dislodges plaque from the gingival sulcus without requiring you to insert the bristles aggressively under the gum.
- Spend extra time (an additional 1 to 2 seconds) at any point where you notice a gap between the gum and the tooth, or anywhere that you have been told you have deeper periodontal pockets.
- If your gums are currently inflamed (red, swollen, or bleed when brushed), do not avoid the area — this is a common mistake. Healthy gums do not bleed during brushing. Bleeding gums are a sign of bacterial accumulation at the gumline, and the correct response is to clean that area more thoroughly and consistently, not to avoid it. With proper daily cleaning, bleeding should cease within 1 to 2 weeks.
Back Teeth and Hard-to-Reach Gumlines
The gumlines at the backs of the last molars are the most commonly missed areas in any brushing routine. To reach these surfaces:
- Partially close your mouth when brushing the outer surfaces of the upper back teeth. Closing reduces cheek tension and creates more room for the brush handle to angle toward the gumline.
- For the inner surfaces of the lower back teeth, open your mouth wide and let your jaw relax forward slightly. This opens the angle of access for the brush head.
- The back surface of the very last molar in each quadrant requires the brush handle to be nearly parallel to the floor (pointing straight back) to position the head correctly. Many people find this awkward at first — practice in front of a mirror until the positioning becomes automatic.
After Brushing: The Correct Finishing Routine
What you do immediately after brushing significantly affects how much benefit you get from the session — particularly regarding fluoride protection.
Do Not Rinse With Water Immediately
This is counterintuitive but well-supported by research: rinsing your mouth with water immediately after brushing dramatically reduces fluoride concentration on and between the teeth, significantly reducing the cavity-prevention benefit of fluoride toothpaste. Instead:
- Spit out excess toothpaste foam — but do not rinse.
- Allow the thin residual film of fluoride to remain on tooth surfaces for at least 30 minutes after brushing.
- If you use a fluoride mouthwash, use it at a different time of day — not immediately after brushing, where it would simply wash away the concentrated fluoride from the toothpaste.
Cleaning the Brush Head After Use
After each brushing session:
- Rinse the brush head under running water while the motor is still running for 5 to 10 seconds. The oscillating motion helps flush toothpaste and debris from deep within the bristle tufts.
- Turn off the motor, then remove the brush head and rinse the drive shaft area of the handle.
- Store the brush head upright in a position where air can circulate around the bristles. Covering the brush head with a cap immediately after use traps moisture and promotes bacterial and mold growth on the bristles.
- Do not store the toothbrush in an enclosed cabinet while the bristles are still damp.
Complementary Oral Hygiene Steps
Even the most effective oscillating toothbrush technique cannot clean the spaces between teeth — the interproximal surfaces. A complete oral hygiene routine includes:
- Flossing or interdental brushing: Once daily, ideally before brushing so that dislodged interdental plaque can then be swept away by the toothbrush. Approximately 40% of tooth surfaces are interproximal and can only be cleaned with floss or an interdental brush.
- Tongue cleaning: The tongue harbors a large proportion of the bacteria responsible for bad breath. A tongue scraper or the back of a toothbrush head can reduce bacterial load on the tongue surface.
- Fluoride mouthwash (at a separate time): Used at a different time of day from brushing, a fluoride mouthwash provides an additional fluoride dose to areas that toothbrushing may not have reached thoroughly.
How Often and When to Brush
The frequency and timing of brushing are nearly as important as the technique itself. The standard recommendation from dental associations worldwide is to brush twice daily — once in the morning and once before bed. However, the timing details within this framework have significant clinical implications.
Why the Bedtime Brush Is the Most Important
The last brushing session before sleep is the most clinically significant of the day for several reasons:
- Saliva flow decreases dramatically during sleep, eliminating the mouth's primary natural defense against bacterial acid production. Any plaque remaining on teeth after the bedtime brush will be bathed in low-pH bacterial acids for 7 to 8 hours without salivary buffering — the conditions most conducive to cavity formation.
- Fluoride applied at bedtime has maximum contact time with enamel (overnight, without food or drink washing it away), providing optimal remineralization conditions.
- If you can only brush once per day due to circumstances, the bedtime brush should be prioritized over the morning brush.
When Not to Brush
Avoid brushing within 30 to 60 minutes of consuming acidic foods or drinks — including citrus fruits, sodas, sports drinks, and wine. Acid temporarily softens the surface of tooth enamel through a process called erosion. Brushing during this vulnerable window removes softened enamel particles. Rinsing with plain water after acidic consumption and waiting before brushing allows saliva to re-harden the enamel surface through remineralization before the bristles contact it.
Is Three Times per Day Better?
Brushing after lunch (three times per day) provides additional plaque removal benefit if done correctly. However, it also increases the daily mechanical load on enamel and gum tissue. If you brush three times daily with an electric toothbrush, using the Sensitive mode for the midday brush is recommended to reduce cumulative abrasion risk, particularly if any of those sessions follow acidic food consumption.
Special Situations: Adapting Technique for Different Dental Conditions
Certain dental conditions require modifications to the standard oscillating toothbrush technique. Understanding these adaptations ensures the electric toothbrush continues to benefit rather than harm in these situations.
Sensitive Teeth and Exposed Roots
If you have areas of gum recession that expose root surfaces, or teeth with existing dentinal hypersensitivity, the oscillating toothbrush requires the following adjustments:
- Use the Sensitive mode exclusively — the reduced oscillation speed is sufficient for plaque removal while minimizing stimulation of sensitive tubules.
- Use an extra-soft brush head specifically designed for sensitive use.
- Apply sensitivity toothpaste containing potassium nitrate or stannous fluoride, which gradually reduces nerve sensitivity with regular use.
- Reduce pressure to the absolute minimum — the pressure sensor should almost never activate on sensitive areas.
Braces and Orthodontic Appliances
An oscillating electric toothbrush is highly effective for people with braces — the round head is particularly good at cleaning around the bracket bases and under the archwire. Adaptations include:
- Use an orthodontic brush head if available for your toothbrush model — these have a V-shaped channel cut through the center of the bristles that helps them straddle the archwire.
- Clean both above and below the archwire as separate passes — first angle the brush head toward the gumline at 45 degrees above the wire, then re-angle to clean the bracket base and the tooth surface below the wire.
- Expect to brush for 3 to 4 minutes rather than 2, as braces roughly double the number of surfaces requiring attention.
- Replace brush heads more frequently — approximately every 6 to 8 weeks — as the brackets accelerate bristle wear.
Dental Implants and Crowns
Oscillating electric toothbrushes are safe for use around implants and crowns. The key considerations are:
- Pay particular attention to the margin between the implant crown and the gum — this is where peri-implant mucositis (the implant equivalent of gum disease) typically begins. The oscillating head's gumline cleaning action is well-suited to this area.
- Use a soft brush head rather than a standard head around implant sites.
- The ceramic surface of crowns and veneers can be lightly abraded by coarse toothpastes. Use a low-abrasivity toothpaste (check the Relative Dentin Abrasivity index — use products with RDA below 70) to protect both natural enamel and ceramic restorations.
For Children
Oscillating electric toothbrushes are appropriate for children from approximately age 3 onward, with age-appropriate brush heads designed for smaller mouths. Key guidance for children includes:
- Children under 7 to 8 years generally lack the manual dexterity to use an electric toothbrush effectively on their own. A parent should brush the child's teeth using the electric toothbrush until the child demonstrates consistent independent technique.
- Use only a smear of toothpaste (rice-grain size) for children under 3; a pea-sized amount for children 3 and older.
- The built-in timer is particularly valuable for children — making it a game to brush until the full two minutes have elapsed builds good habits early.
Common Mistakes to Avoid When Using an Oscillating Toothbrush
Understanding what not to do is as important as understanding correct technique. The following mistakes are extremely common, particularly among people transitioning from manual brushing, and each one meaningfully reduces the effectiveness of the electric toothbrush.
| Mistake | Why People Do It | Consequence | Correct Action |
|---|---|---|---|
| Scrubbing back and forth | Habit from manual brushing | Enamel abrasion, gum recession | Guide slowly, let head oscillate |
| Pressing too hard | Thinking more pressure = cleaner | Enamel loss, permanent gum recession | Light grip; heed pressure sensor |
| Brushing too fast | Rushing; not using the timer | Insufficient dwell time; missed plaque | 3 seconds per tooth minimum |
| Rinsing immediately after | Wants to remove foam taste | Removes fluoride; reduces cavity protection | Spit only; wait 30 minutes to rinse |
| Skipping inner tooth surfaces | Awkward to reach; overlooked | Tartar buildup on lower front inner surfaces | Deliberately include in quadrant routine |
| Not replacing brush heads | Forgetting; trying to save money | Worn bristles remove 30% less plaque | Replace every 3 months |
| Turning on before placing in mouth | Forgetting the sequence | Toothpaste splatter on mirror and clothes | Position brush on teeth, then power on |
Transitioning From a Manual Toothbrush: What to Expect
Switching to an oscillating electric toothbrush after years of manual brushing involves an adjustment period. Knowing what to expect prevents unnecessary alarm and improves the likelihood of sticking with the new brush long enough to see its full benefits.
Normal Experiences During the First Two Weeks
- Increased gum bleeding: If you have any existing gum inflammation (which is very common), the more thorough cleaning action of the electric toothbrush will initially cause more bleeding as disturbed plaque biofilm releases inflammation mediators. This typically resolves within 7 to 14 days of consistent electric brushing.
- Unfamiliar sensations: The vibration of the oscillating head, particularly near sensitive gum margins, feels strange initially. Using Sensitive mode for the first two weeks allows your gums to adapt before using full power.
- Teeth feeling "smoother" or "squeakier": This is a positive sign — it indicates the brush is removing surface plaque and pellicle film more effectively than your manual brush was doing. The clean, smooth sensation should be consistent after each session once technique is established.
- More foam and splatter: The oscillating action produces more foam from toothpaste. Learning to keep lips slightly parted during brushing reduces splatter.
What Your Dentist Will Notice
After three months of consistent correct use, your dentist and hygienist should notice measurable improvements: reduced plaque scores at examination, less tartar buildup requiring removal, improved gum health scores (probing depth, reduced bleeding on probing), and possibly improved appearance of gum tissue color and texture. These objective improvements are the best confirmation that the transition to an oscillating electric toothbrush has been successful.
Caring for Your Oscillating Rechargeable Toothbrush
Proper care of the device itself extends its service life and maintains consistent performance. Oscillating electric toothbrushes are precision appliances and respond well to simple, consistent maintenance.
Weekly Deep Cleaning
Once a week, remove the brush head and clean the connection point between head and handle. Toothpaste and debris accumulate in this junction and can harbor bacteria if left indefinitely. Use a damp cloth or cotton bud to clean the shaft and the inside of the brush head socket. Allow both components to dry fully before reattaching.
Battery and Charging Best Practices
- For models with inductive charging bases (the most common design), avoid placing the charging base in areas where it will be consistently wet. While the handle is waterproof, repeated moisture in the charging coil area can reduce charging efficiency over time.
- When traveling, remove the brush head and pack the handle separately to prevent accidental activation in luggage — which can drain the battery and potentially damage the motor by running dry.
- If storing the toothbrush for an extended period (over one month), charge the battery to approximately 50% capacity before storage. Storing a lithium-ion battery at full charge for months can degrade capacity.
When to Replace the Entire Unit
With proper care, the handle of a quality oscillating toothbrush should provide 3 to 5 years of reliable service. Signs that the unit needs replacement include: significantly reduced oscillation speed even on a full charge, unusual noises during operation, or a battery that no longer holds charge for more than a few days. Regular brush head replacement (every three months) independently of handle replacement is essential regardless of handle age.